ST6 Detailers · Arizona

Paint correction guide. Phoenix, Arizona.

Compare machine-polishing levels for swirls, haze, oxidation and scratches. We come to homes, apartments and workplaces across Phoenix and the East Valley with our own water and power. Paint condition and safe clear-coat limits determine the work, not a promise that every scratch disappears.

Google reviews

ST6 customer reviews.

Google rating across ST6’s five business profiles. This is the overall business rating, not a rating for this individual service.

CARFAX Gtechniq Accredited badge
Gtechniq Accredited InstallerProfessional surface care
ST6 Detailers logo
Family owned & operatedDana Starr & sons
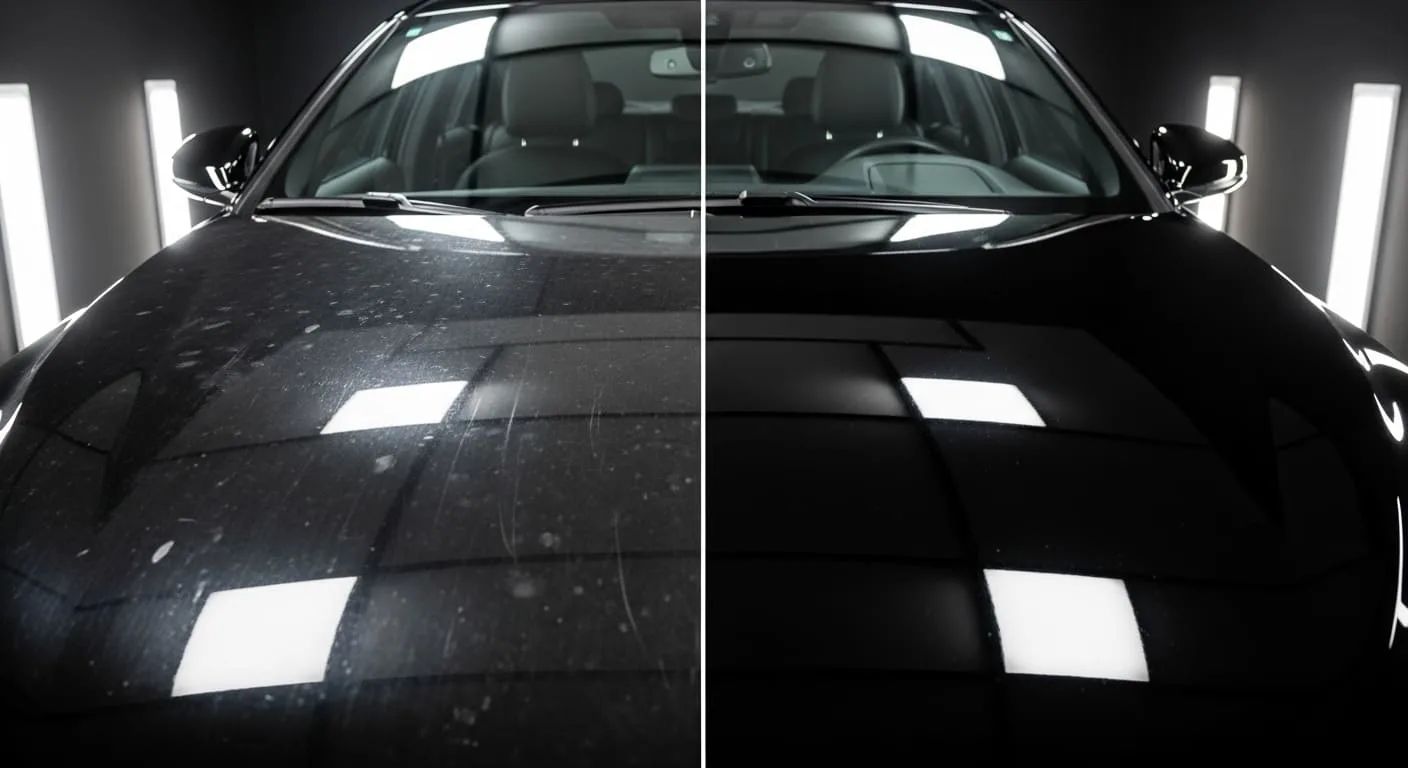
50/50 paint correction on a black hood: swirled and scratched on the left, clear reflections on the right
Same hood, half doneSwirls left · corrected right
Short Answer

Car Paint Correction Guide in Phoenix. It takes the damage out. It doesn’t hide it.

Paint correction is machine polishing that levels the clear coat down to the bottom of the scratches, so they are gone instead of filled with a glaze that washes out. A 1-step is a light cut, a 2-step is an abrasive cut followed by a finishing polish, and a 3-step adds wet sanding for scratches the polisher alone can’t reach.

Factory paint, cross-sectionTypical removal
Clear coat35–50 µm · thinner than half a sheet of paper
Step 1 · 1–2 µmStep 2 · 3–5 µmStep 3 · 5–10+ µm
Base coatThe color. Once you see it, polishing is over.
Primer & e-coatA scratch down here needs paint, not polish.
Sound Familiar?

What happened, and what fixes it.

Most people find us after one of these. Here’s the level each one usually needs. The light decides the final call, not the photo.

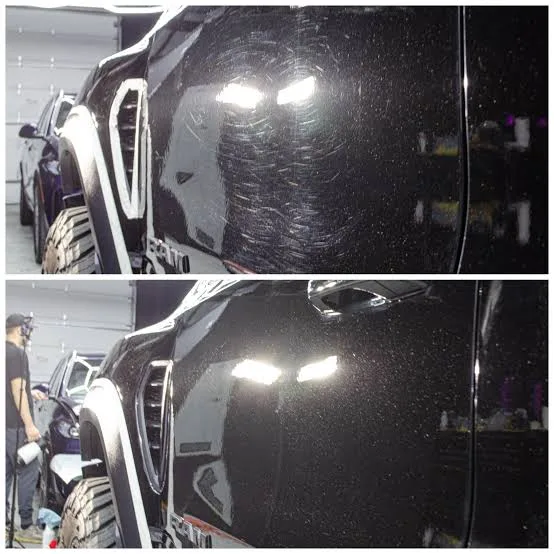
Black truck door before and after correction: heavy swirl marks on top, clear reflection below

“I went through a car wash. Now it’s scratched.”

Brushes and recycled water drag grit across the paint in circles. In the sun it shows as a spider web. Those scratches sit in the top of the clear, which is exactly what correction is for.

Usually Step 2Abrasive cut
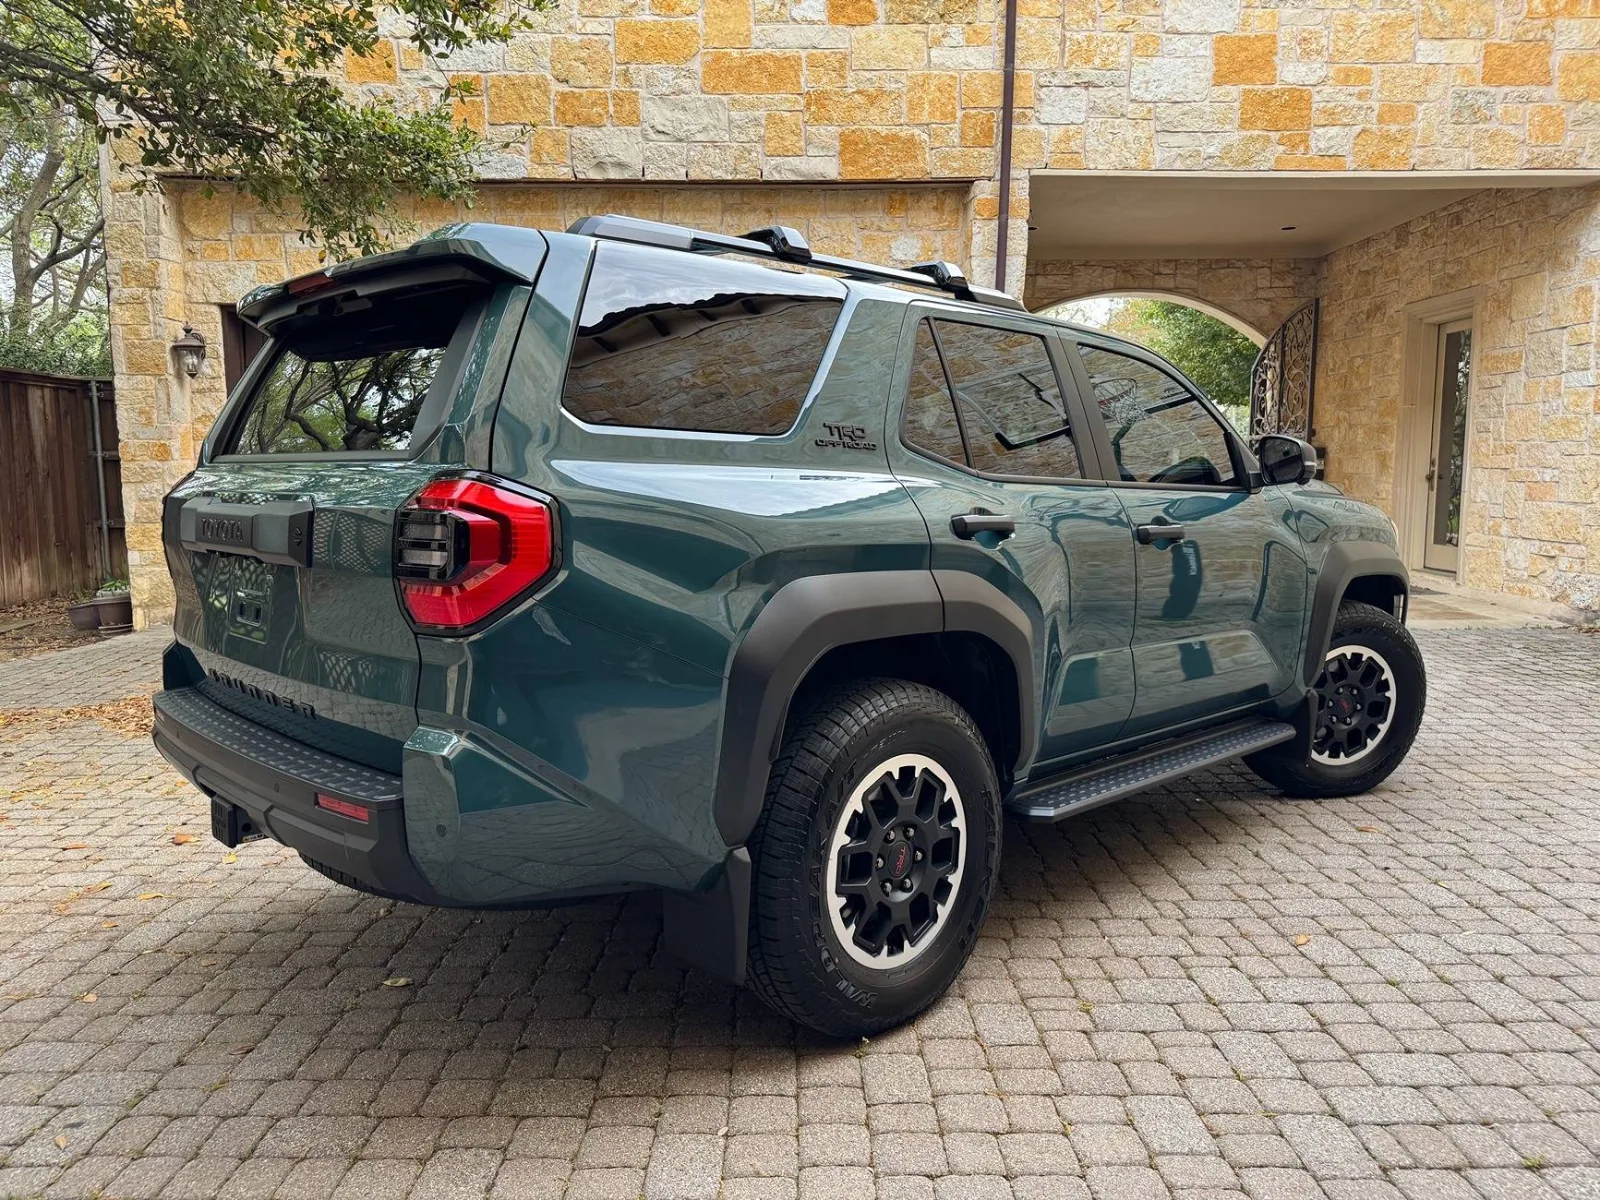
Green Toyota 4Runner TRD Off-Road with glossy corrected paint reflecting a stone wall

“Went camping. Branches scratched the sides.”

Desert brush can leave pinstripes along truck doors and bedsides. We inspect the depth before recommending polishing; deeper damage may remain.

Step 2, sometimes 3When it’s deeper
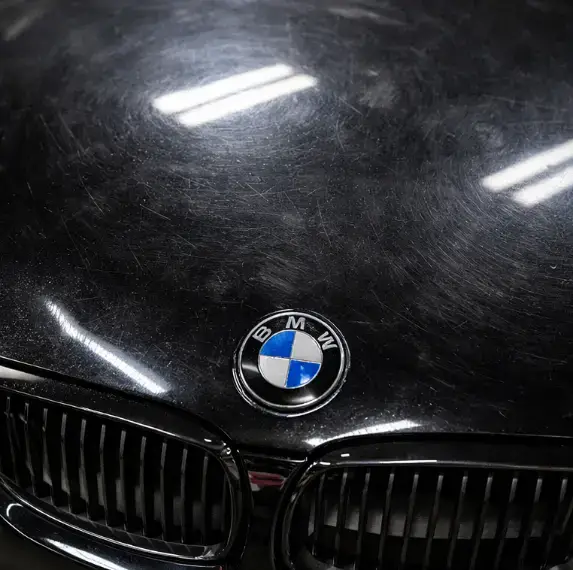
Black BMW hood dulled by fine swirl marks under a light

“It’s dull. Not like when it was new.”

Sun exposure and outdoor parking in Phoenix can make oxidation and fine wash marks more noticeable. Inspection determines the appropriate paint-care approach.

Step 1 or 2Light cut
Circular polishing marks on black paint under a single light

“Someone keyed my car.”

Do the fingernail test below first. A key mark in the clear can be leveled; one into the color can’t.

Step 3 or touch-upFingernail test
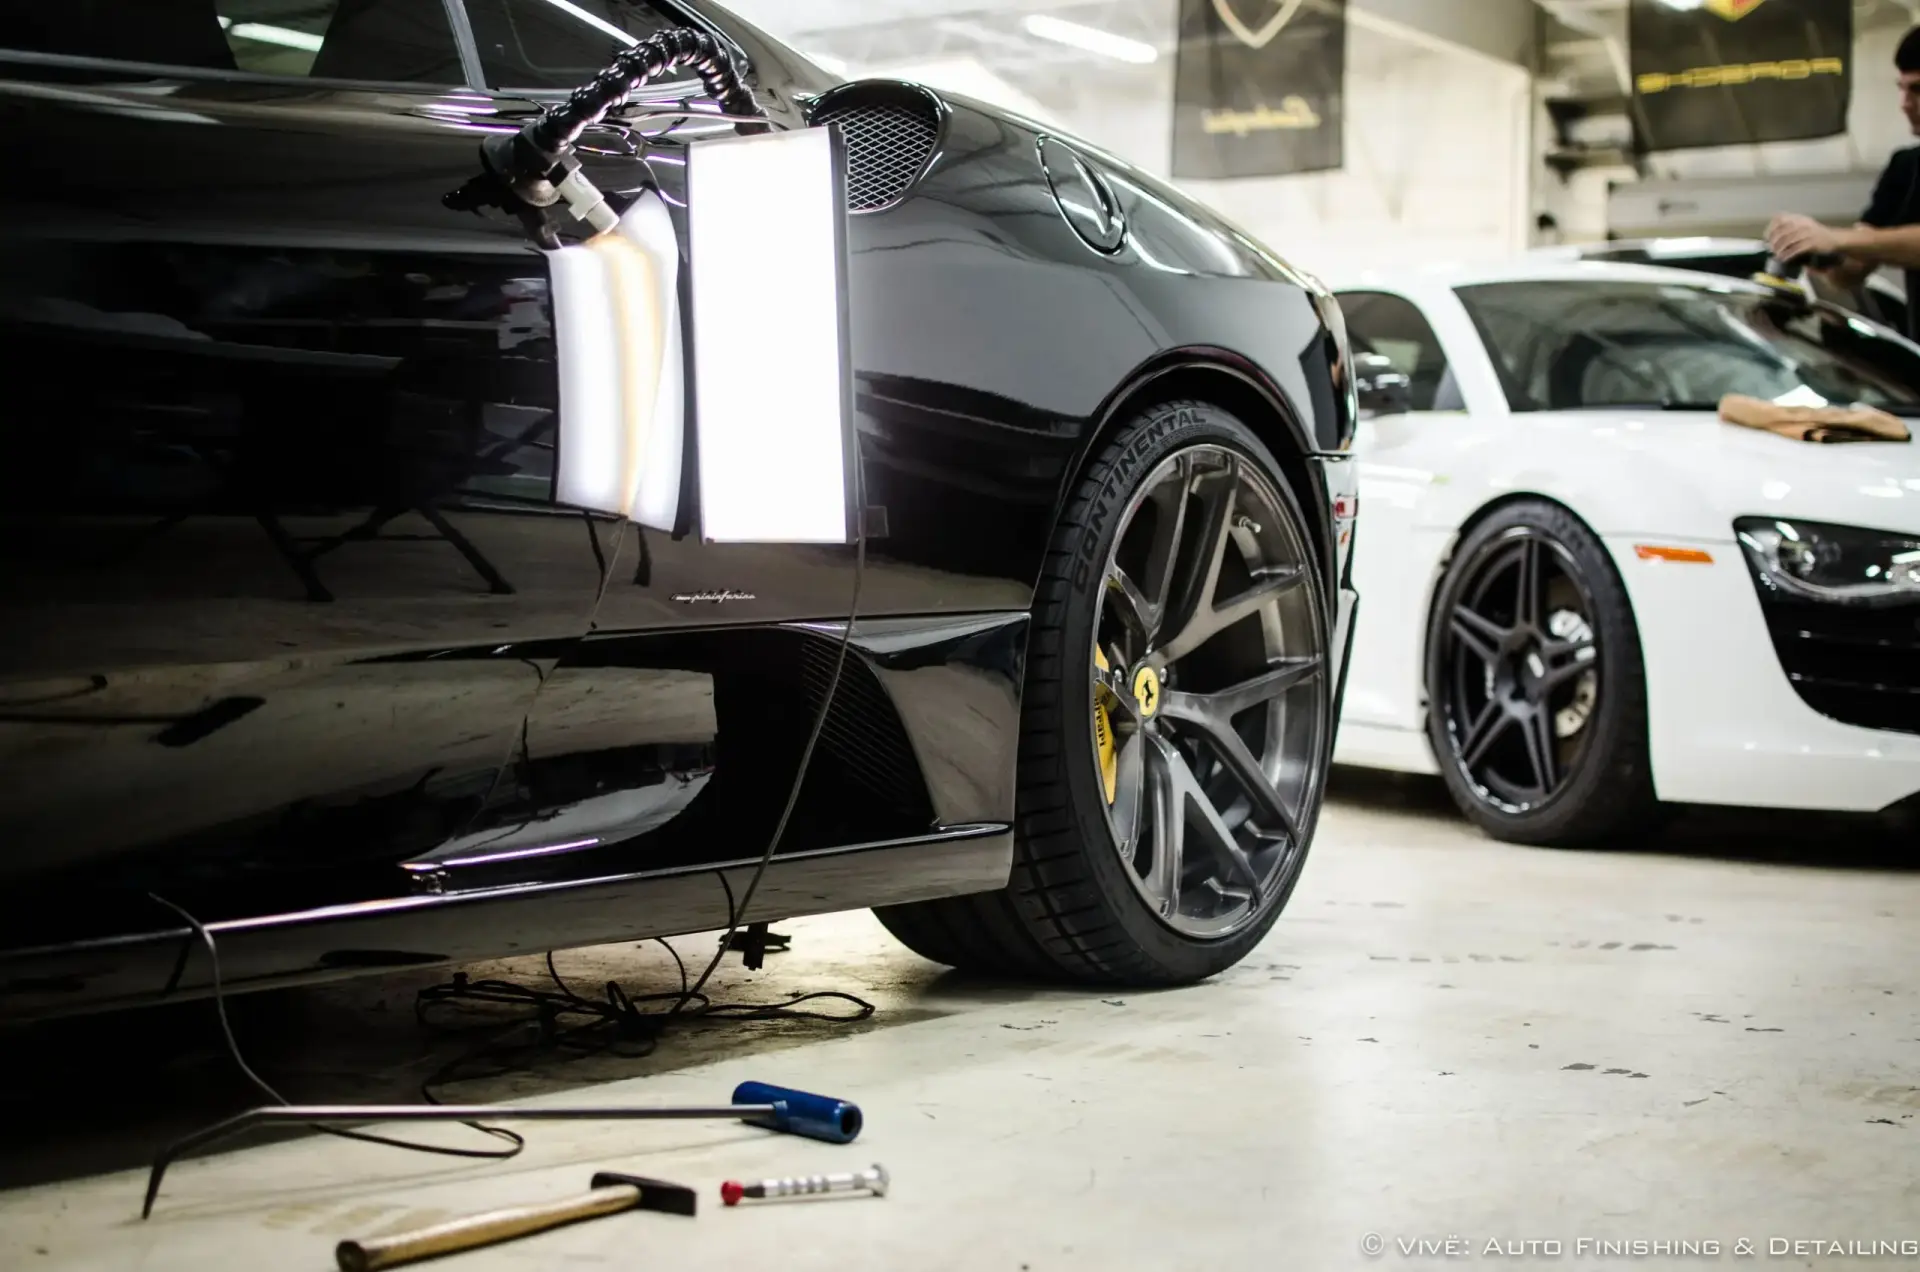
Black car under portable inspection lights aimed at the lower door and rocker

Water spots, bird etching, mag chloride film

Hard water left to dry and droppings baked on in summer etch into the clear. Winter de-icer leaves a film that dulls everything. Shallow etching is a Step 2. Deep etching that a polisher can’t level is a Step 3.

The fingernail test

Run a fingernail across the scratch at a right angle. Doesn’t catch: it’s in the clear coat and correction will take it out. Catches slightly: it may still be in the clear, and that’s wet sanding territory, only after a paint gauge reading.

Catches hard, or you see white, grey or bare metal: it’s through the clear, and the honest answer is touch-up or paint.

Before Any Polisher

Six steps before step one.

Most of the result comes from the prep. Skip it and the polisher grinds grit into the paint you’re trying to fix.

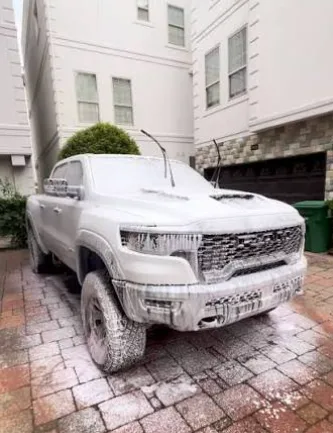
White Ram TRX covered in foam before paint correction
01

Foam & hand wash

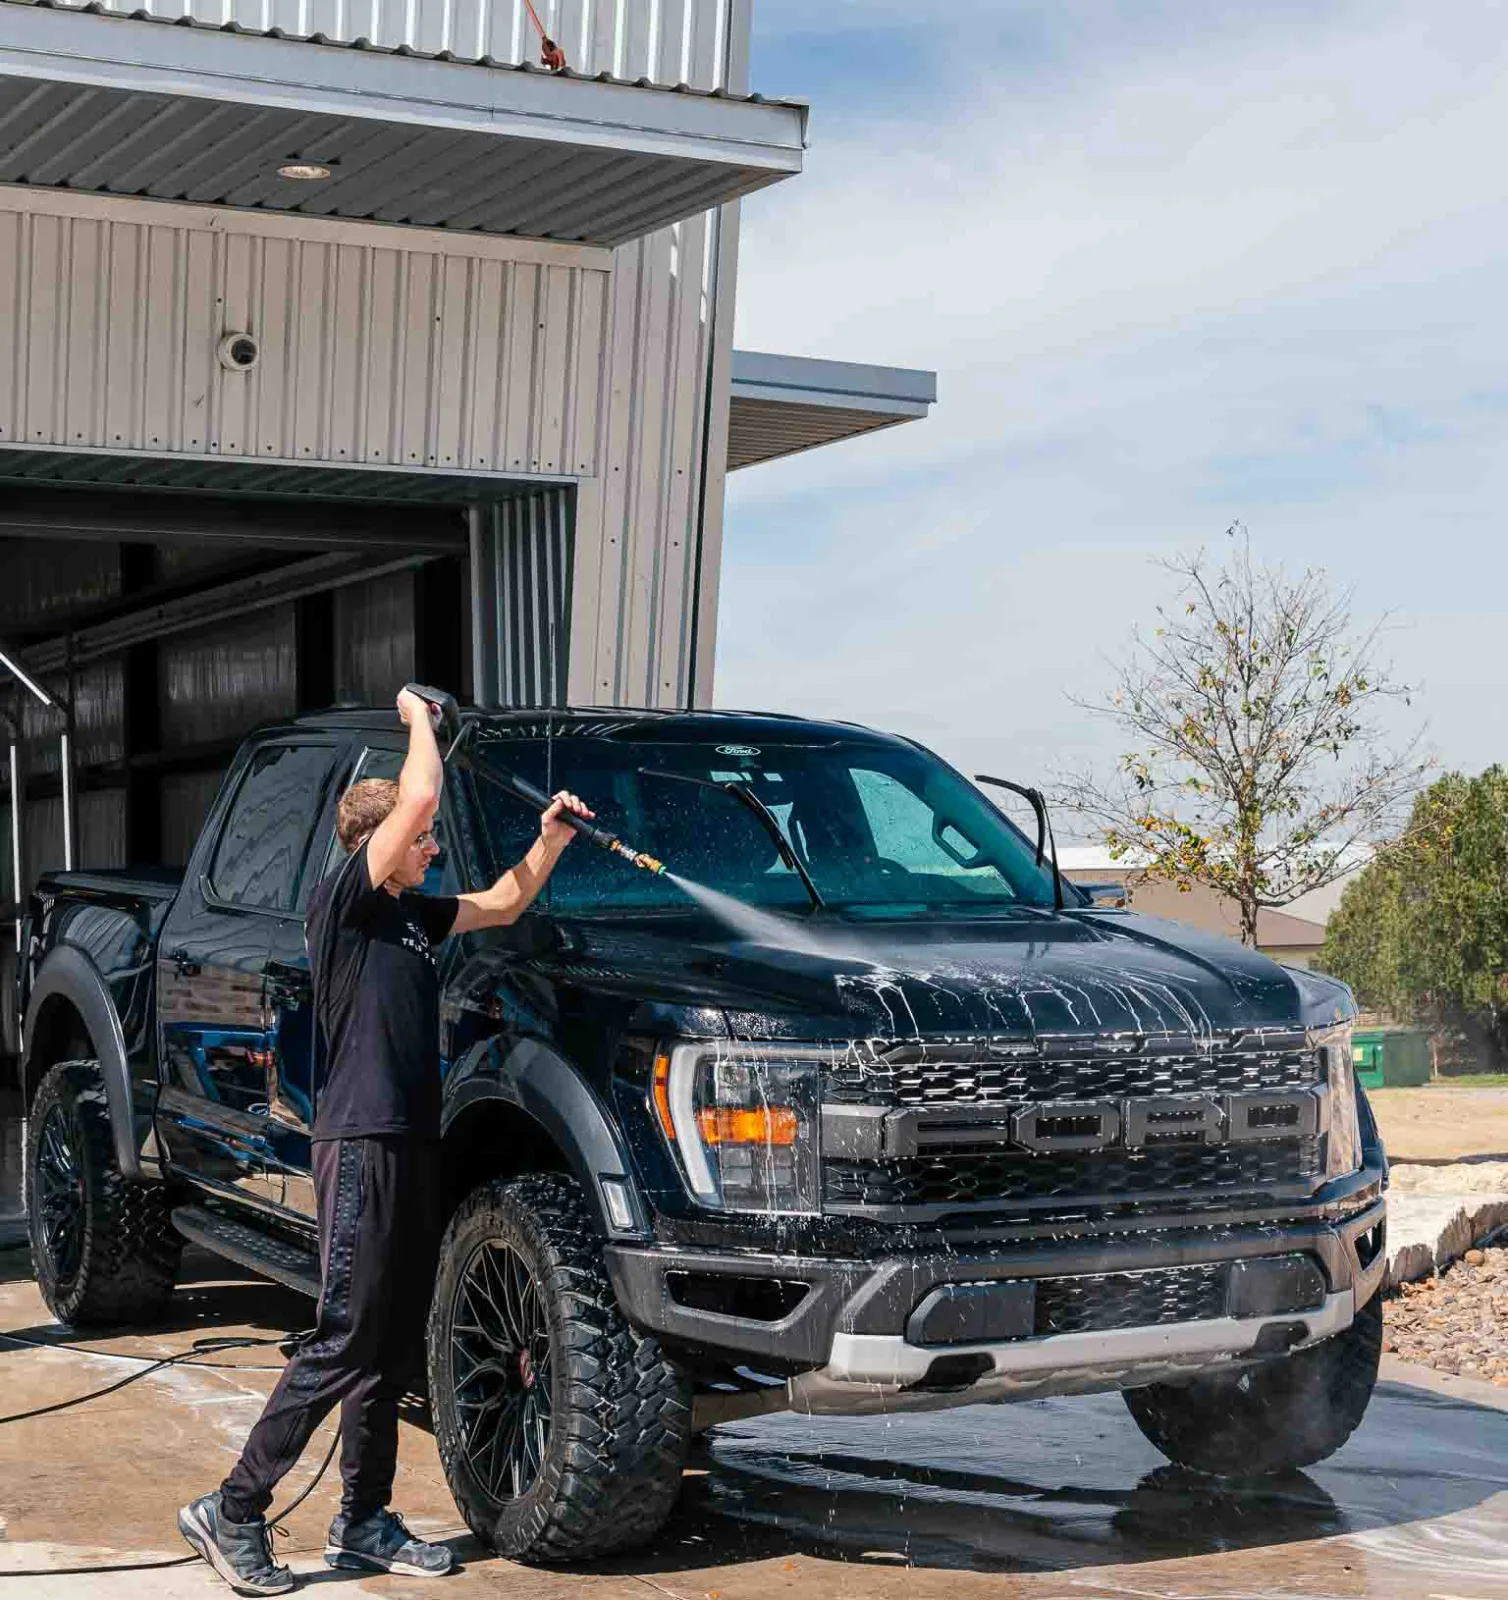
Foam soaks the dirt loose first, then a two-bucket hand wash. Nothing gets rubbed dry.

Detailer washing a black Ford F-150 Raptor outside the shop
02

Iron & tar decon

An iron remover dissolves embedded brake dust and rail dust, then tar and road film come off. On trucks carrying road grime this step bleeds purple.

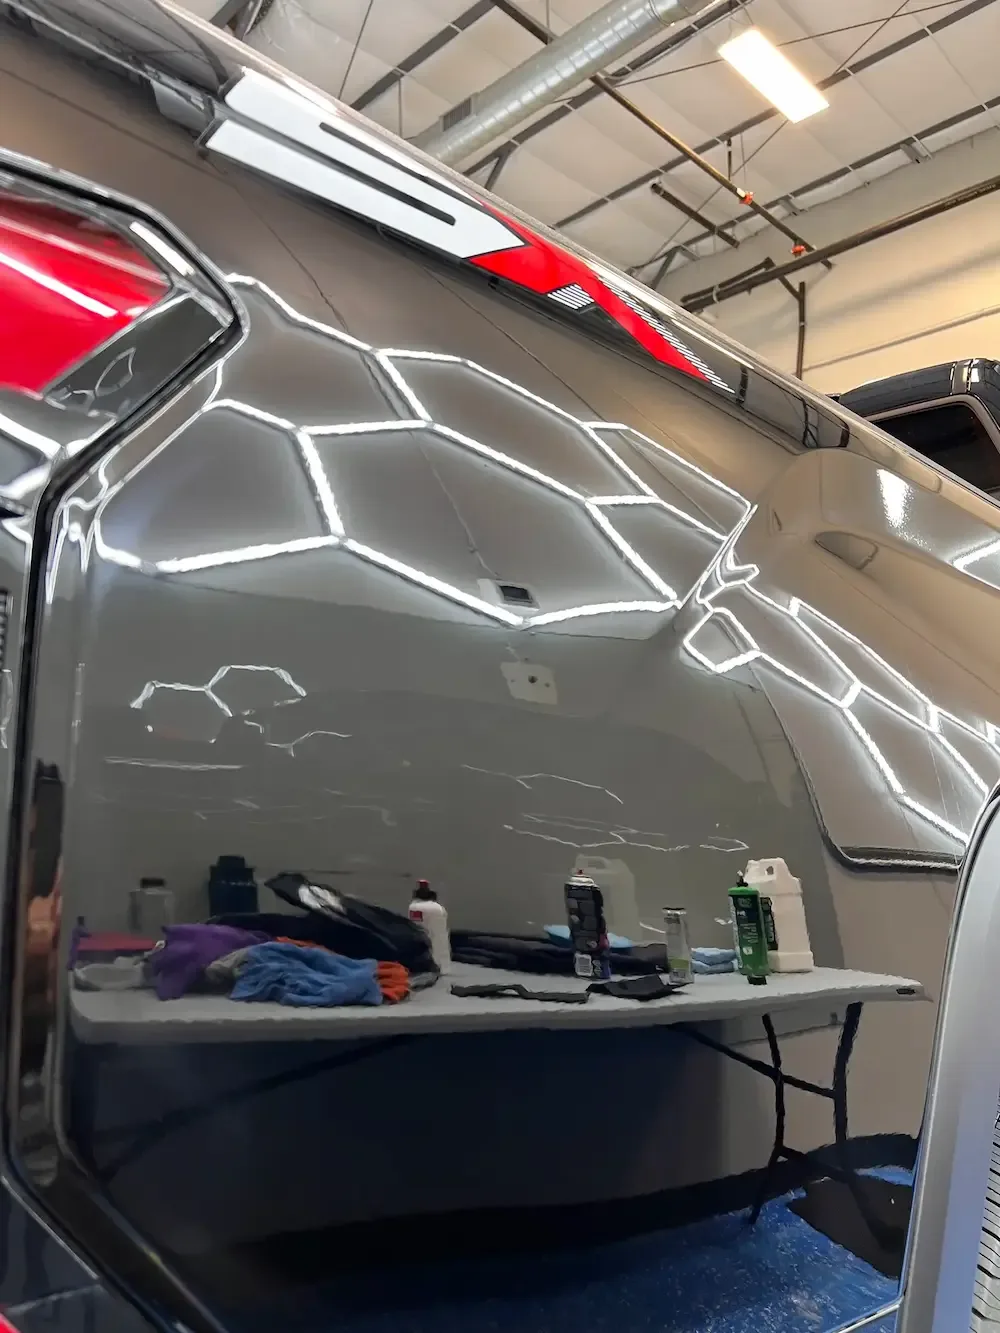
Truck bedside reflecting hexagon shop lights
03

Clay bar

Clay on plenty of lube pulls out what chemicals leave behind. Paint should feel like glass in a plastic bag before polishing.

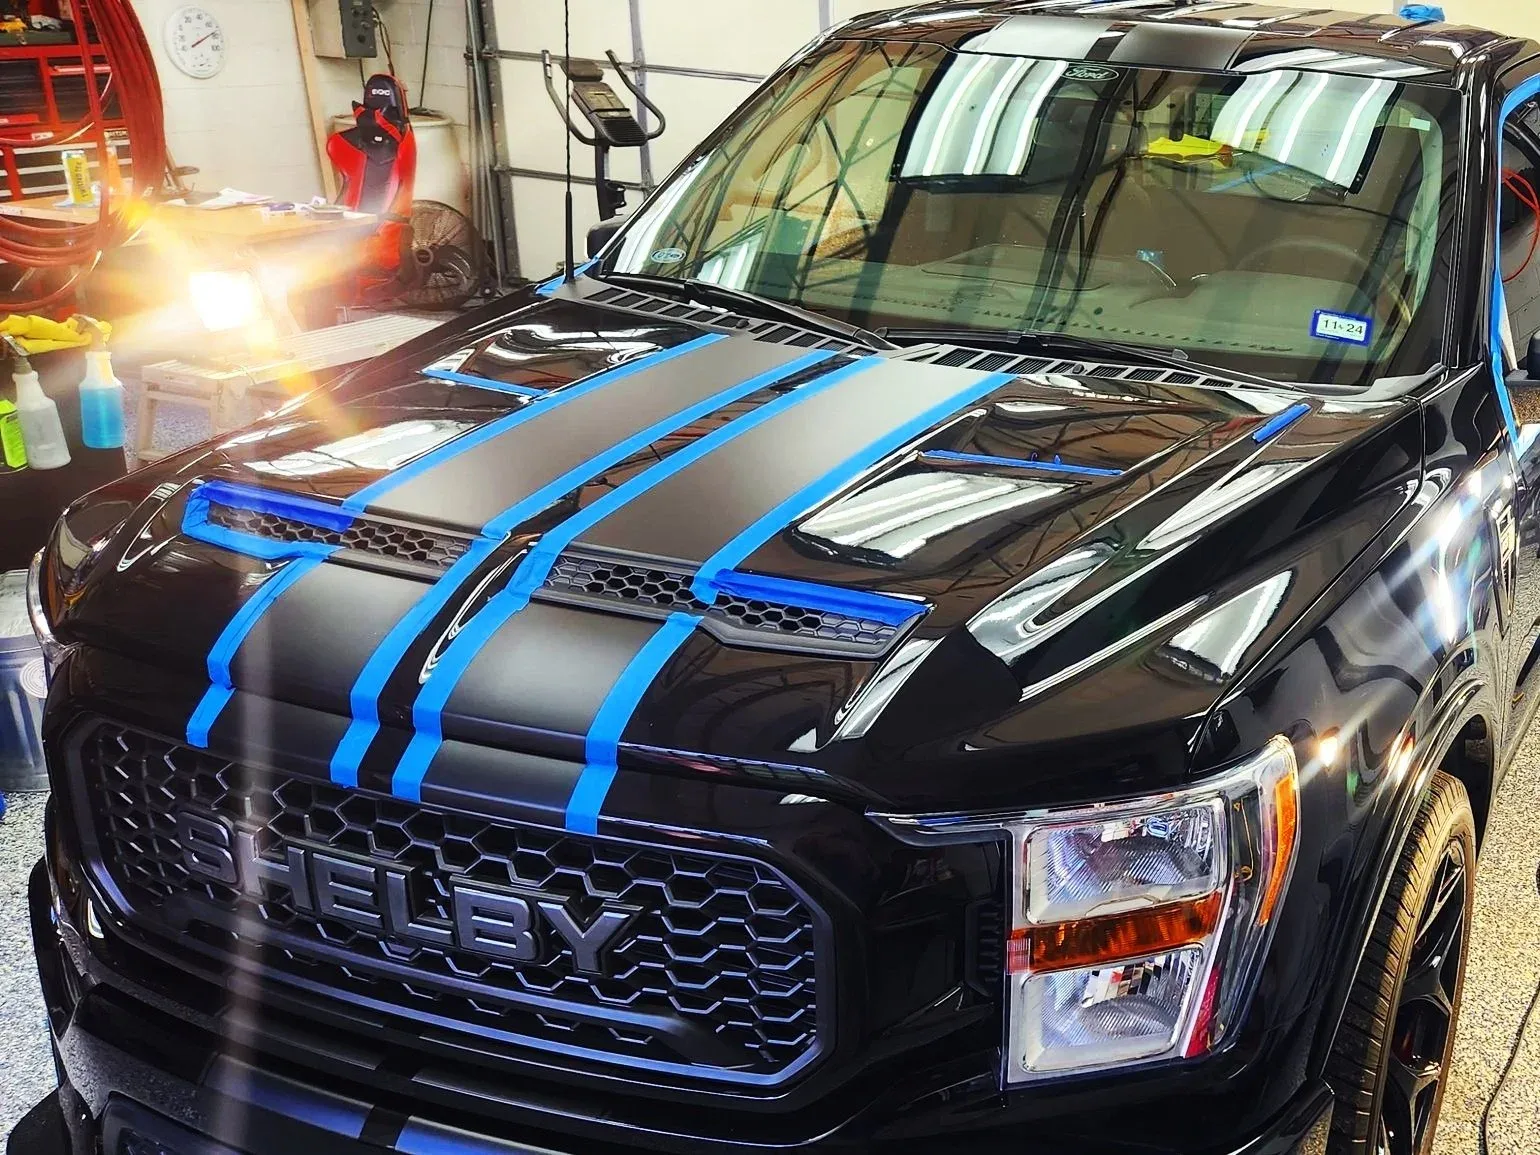
Black Shelby F-150 with blue tape on stripes and trim before paint correction
04

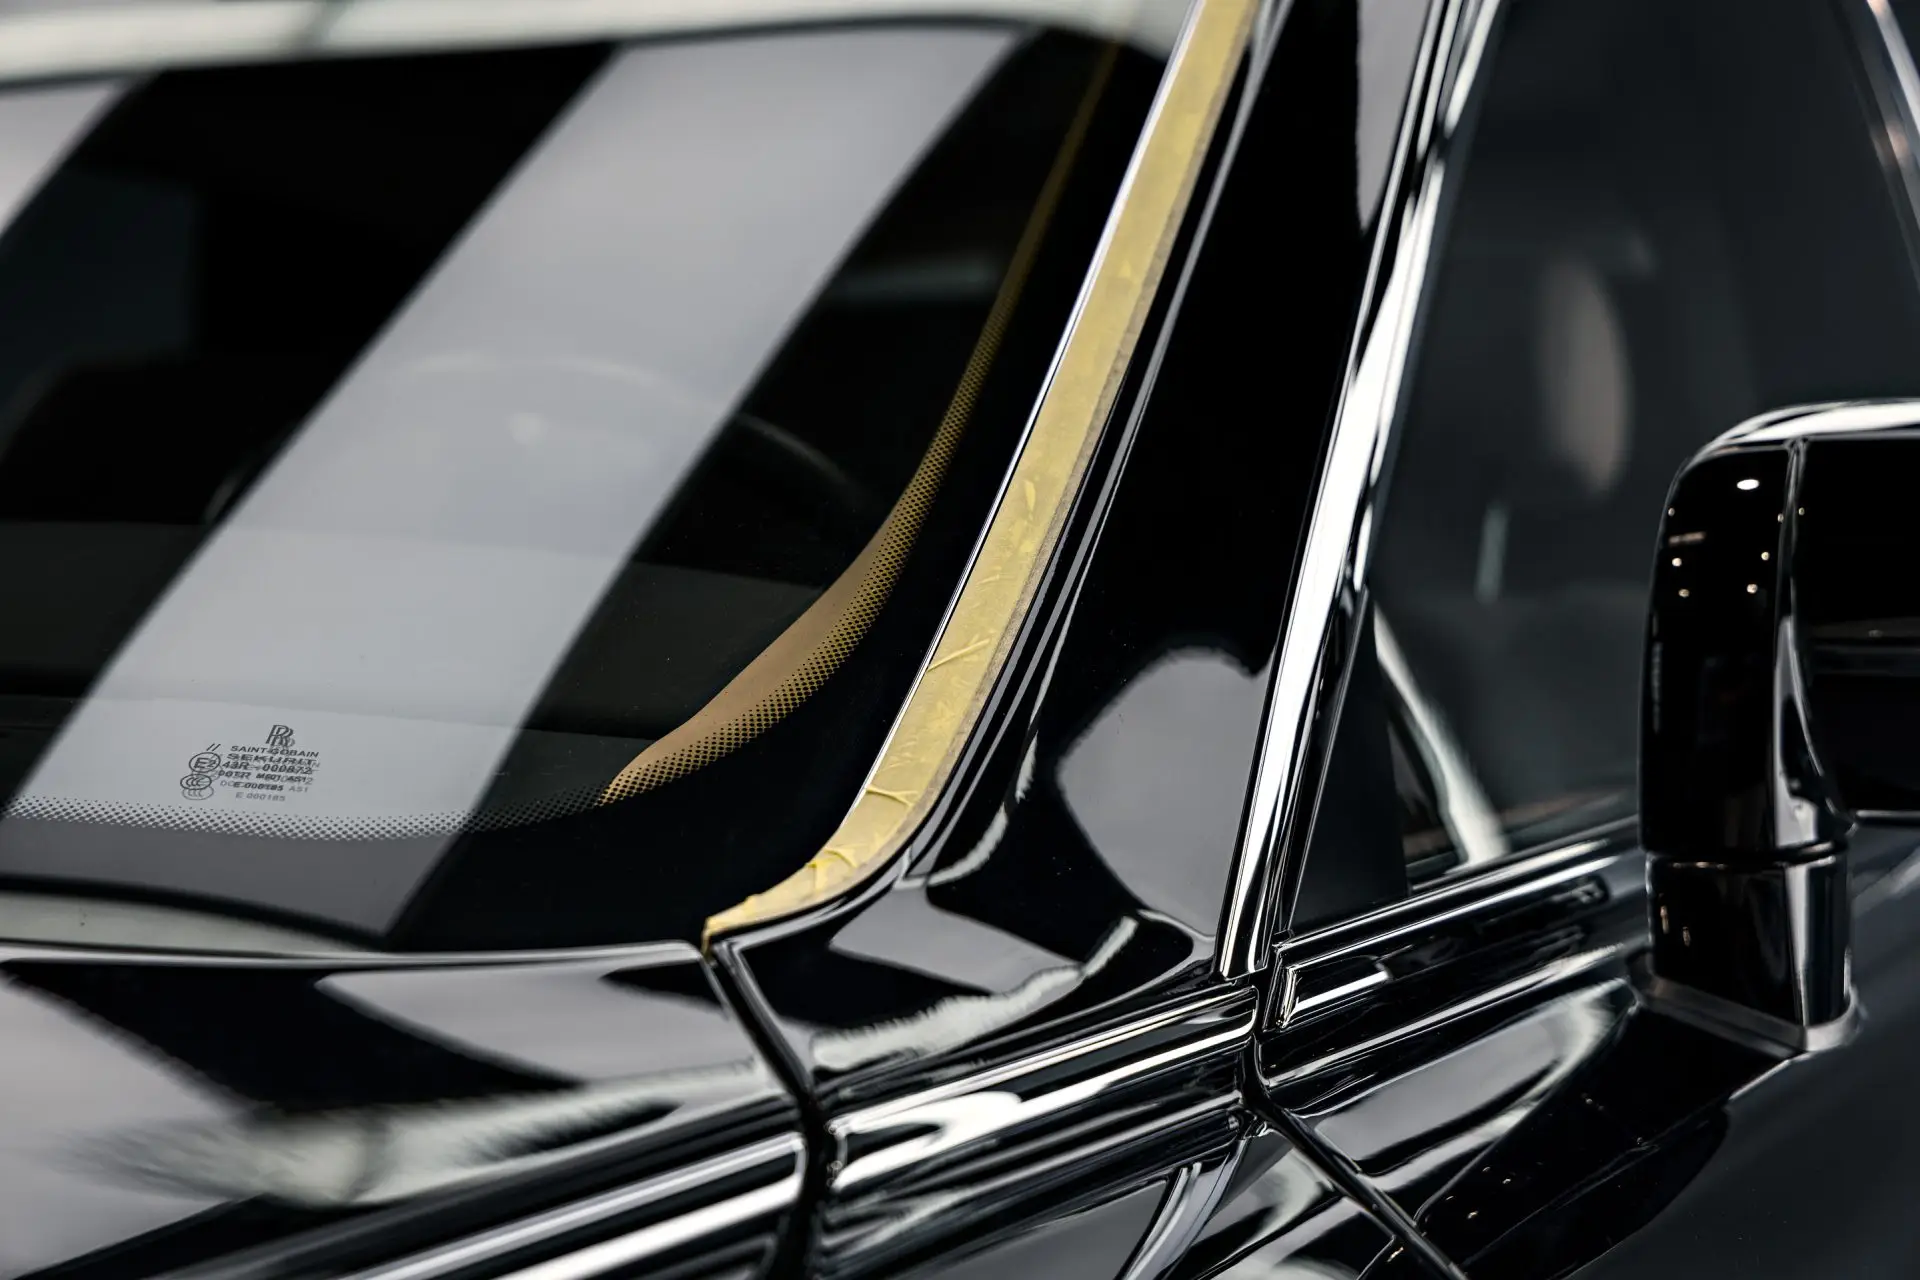
Tape the edges

Trim, badges, stripes and sharp body lines get taped. Edges have the thinnest paint and burn through first.

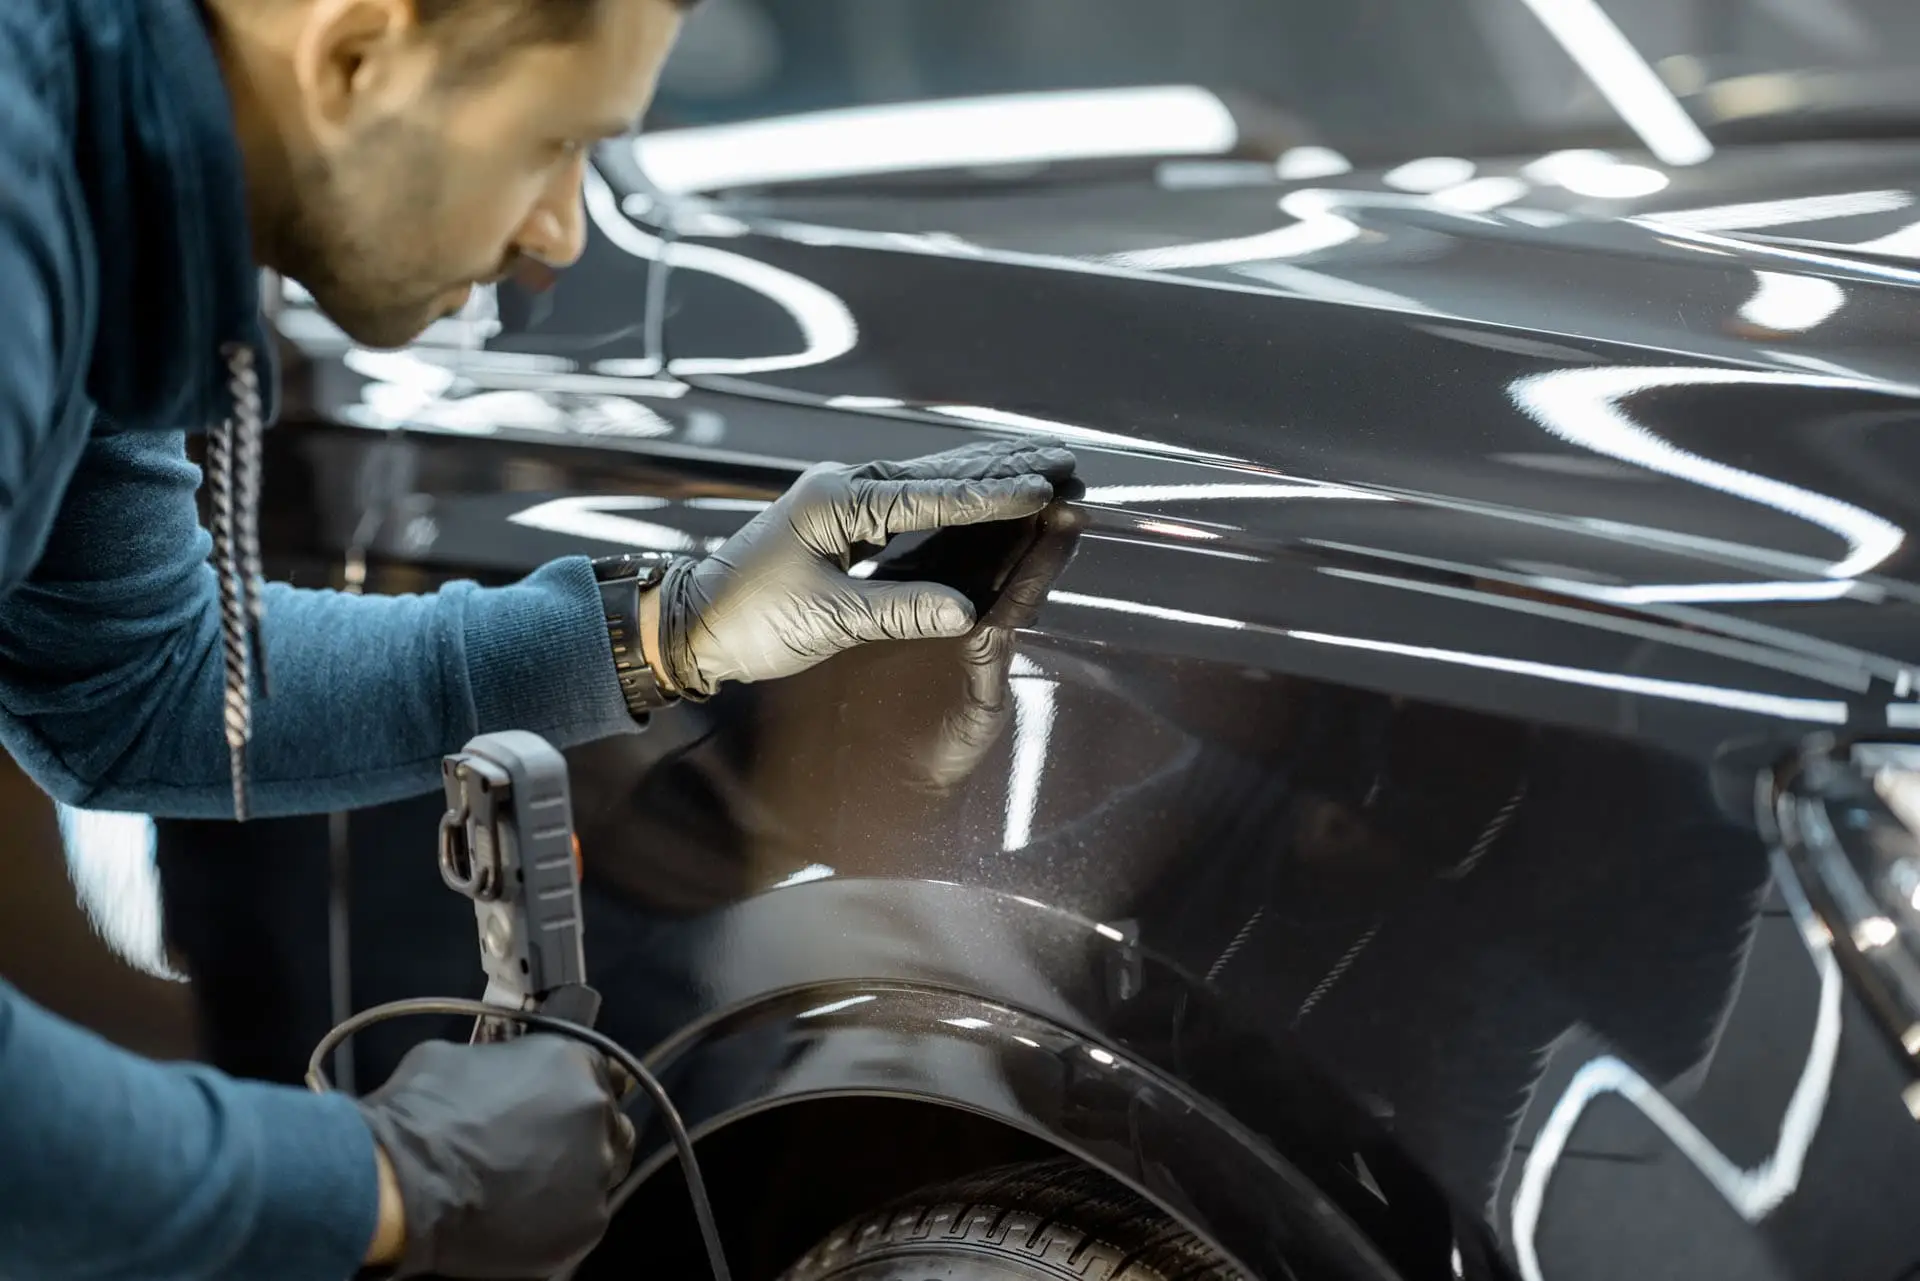
ST6 paint inspection under direct lighting
05

Measure the paint

A paint thickness gauge on every panel. Low readings mean a past correction; high readings mean a repaint. It decides how far we can go.

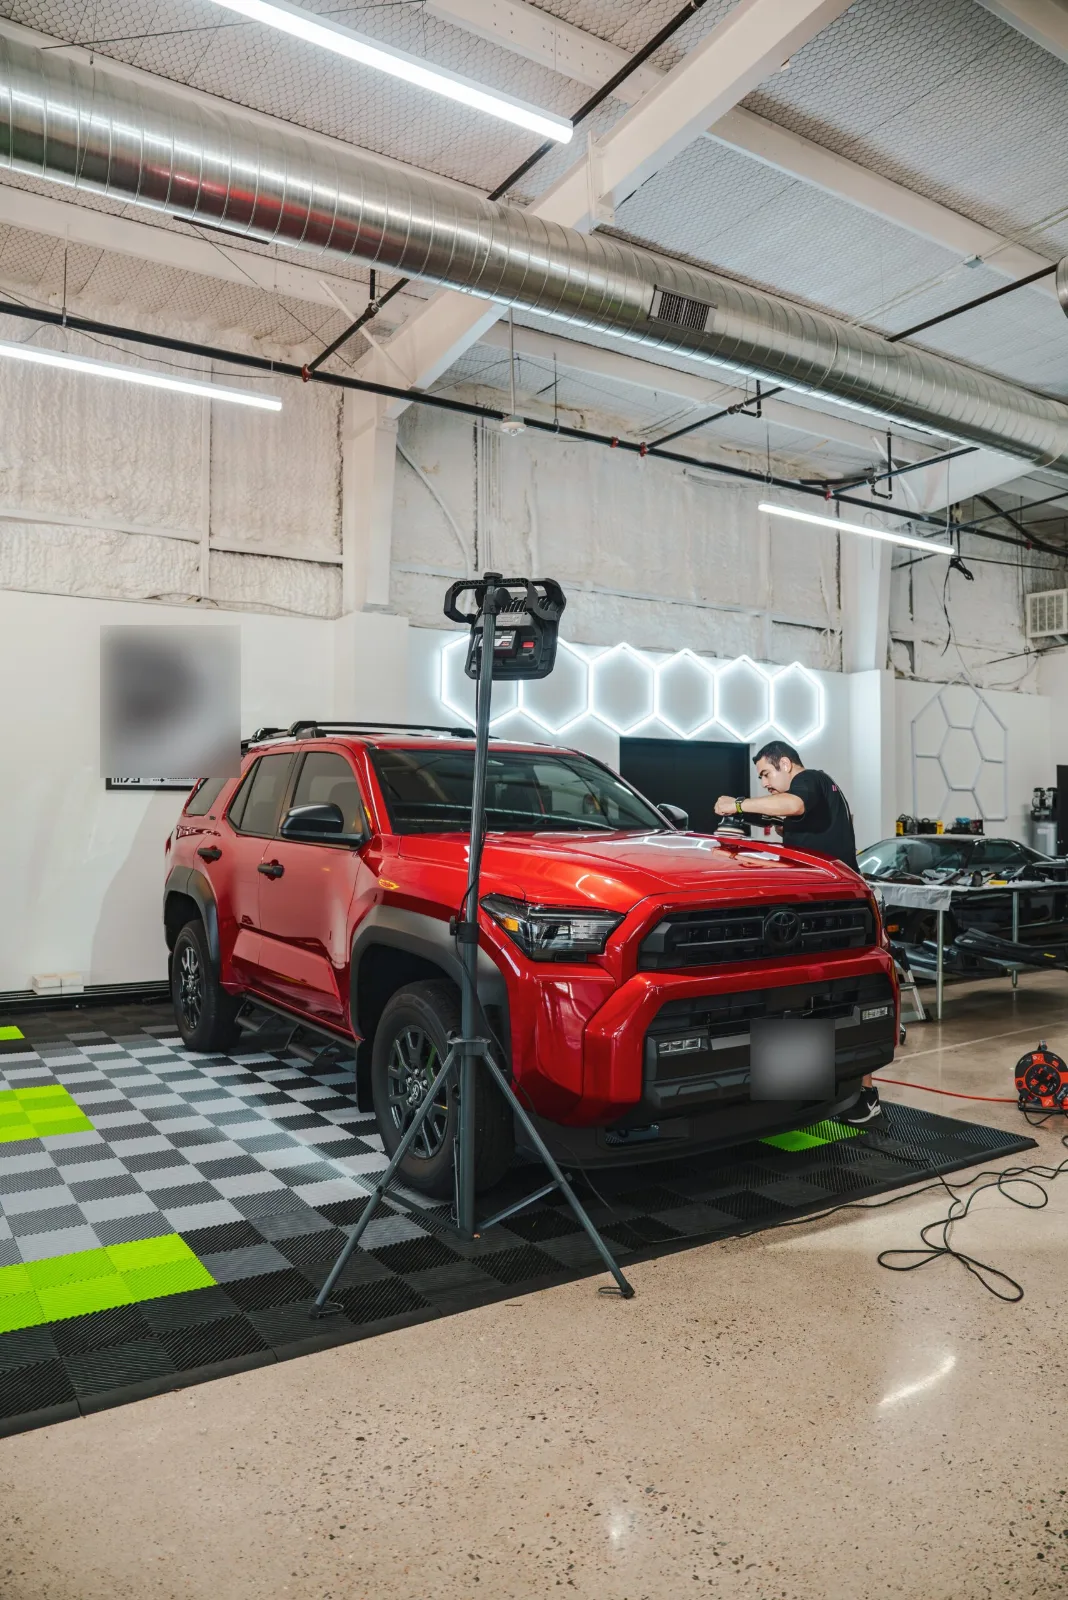
Red Toyota 4Runner being machine polished under inspection lights
06

Test spot

One small section with the least aggressive pad and polish that might work. Only step up if it doesn’t.

The Three Steps

Light cut. Abrasive cut. Wet sanding.

Each step removes more clear coat than the one before, so you stop at the lowest step that fixes the paint. That is the whole philosophy.

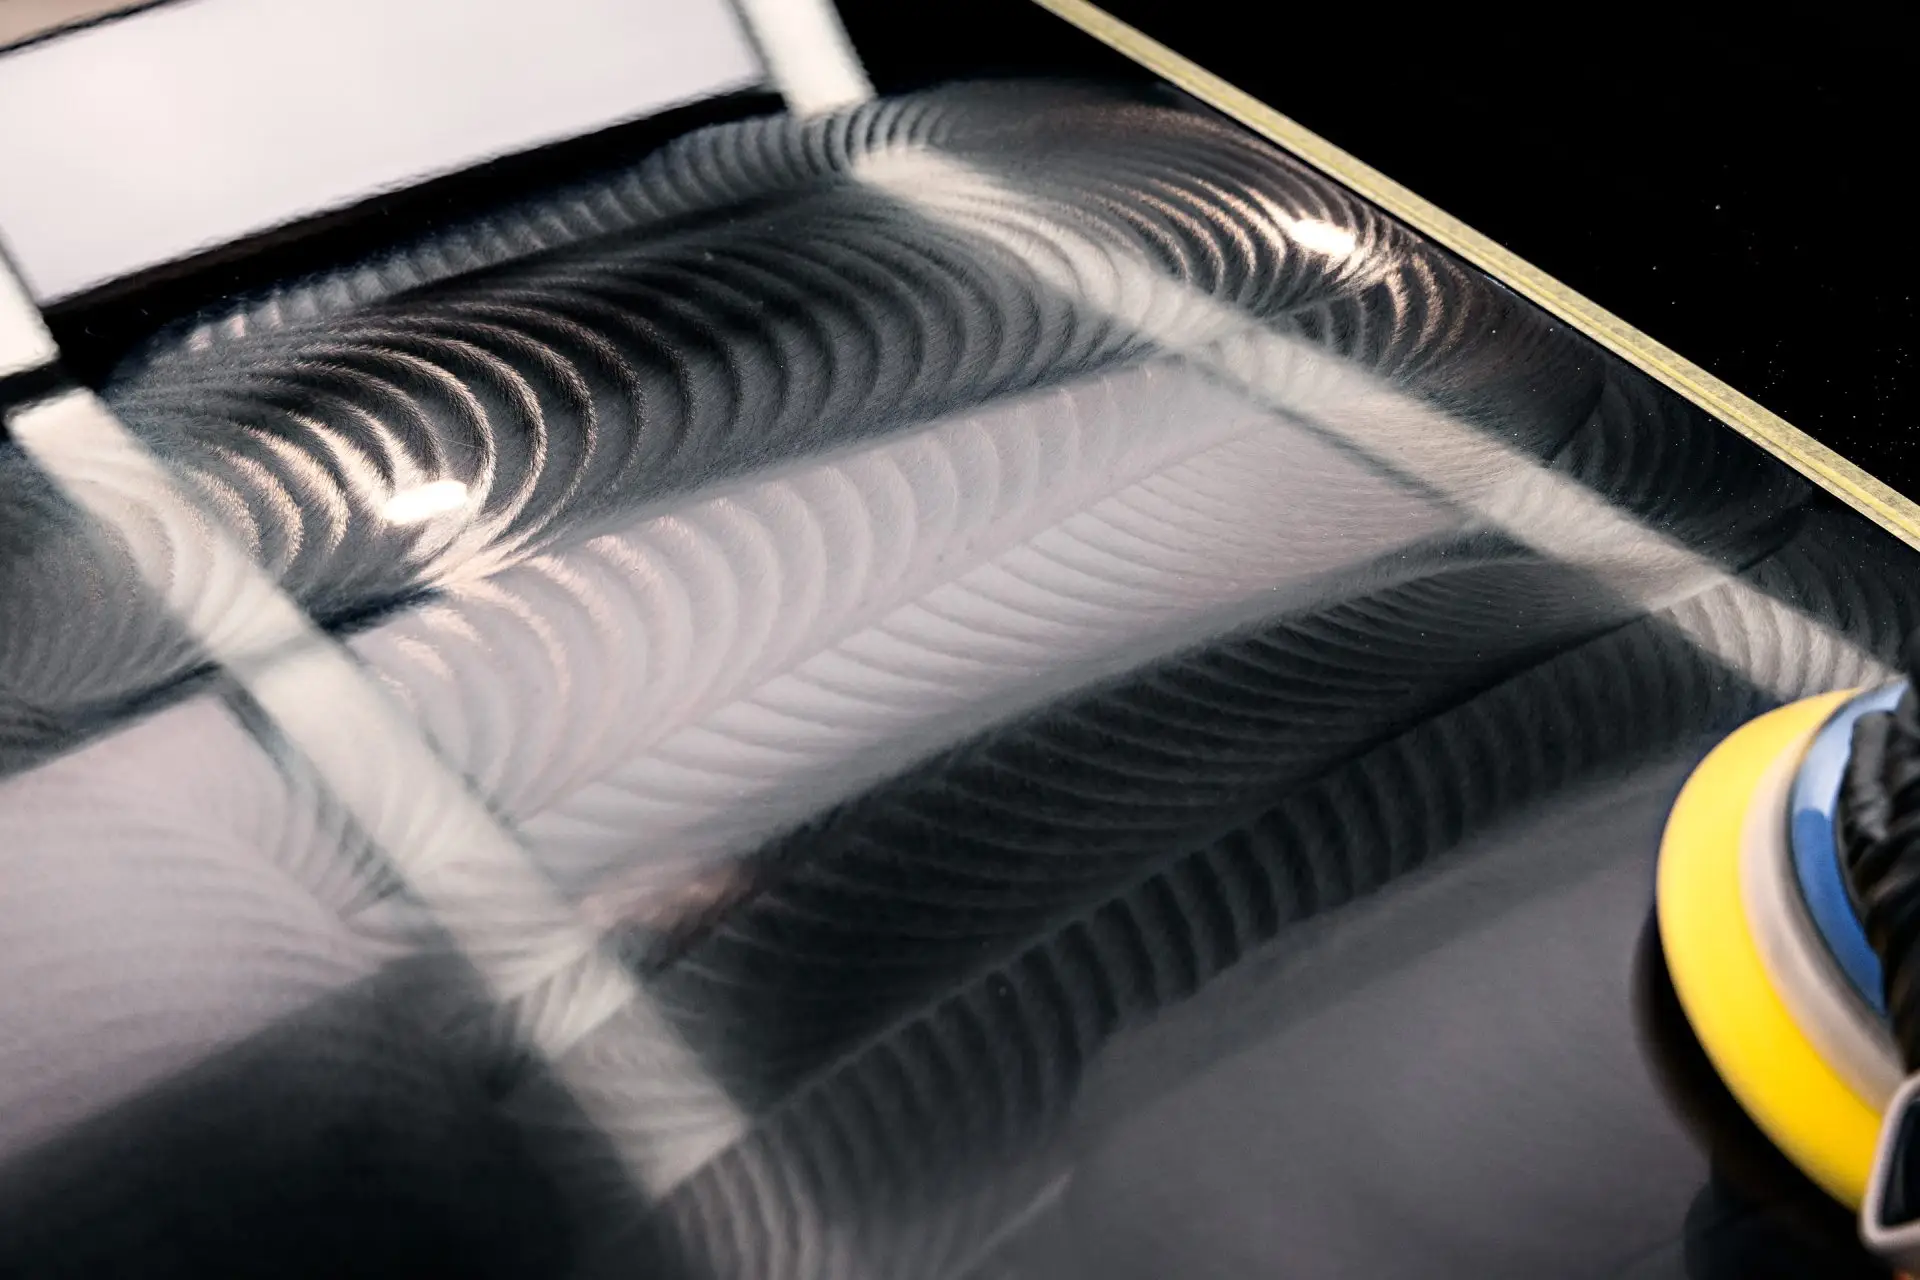
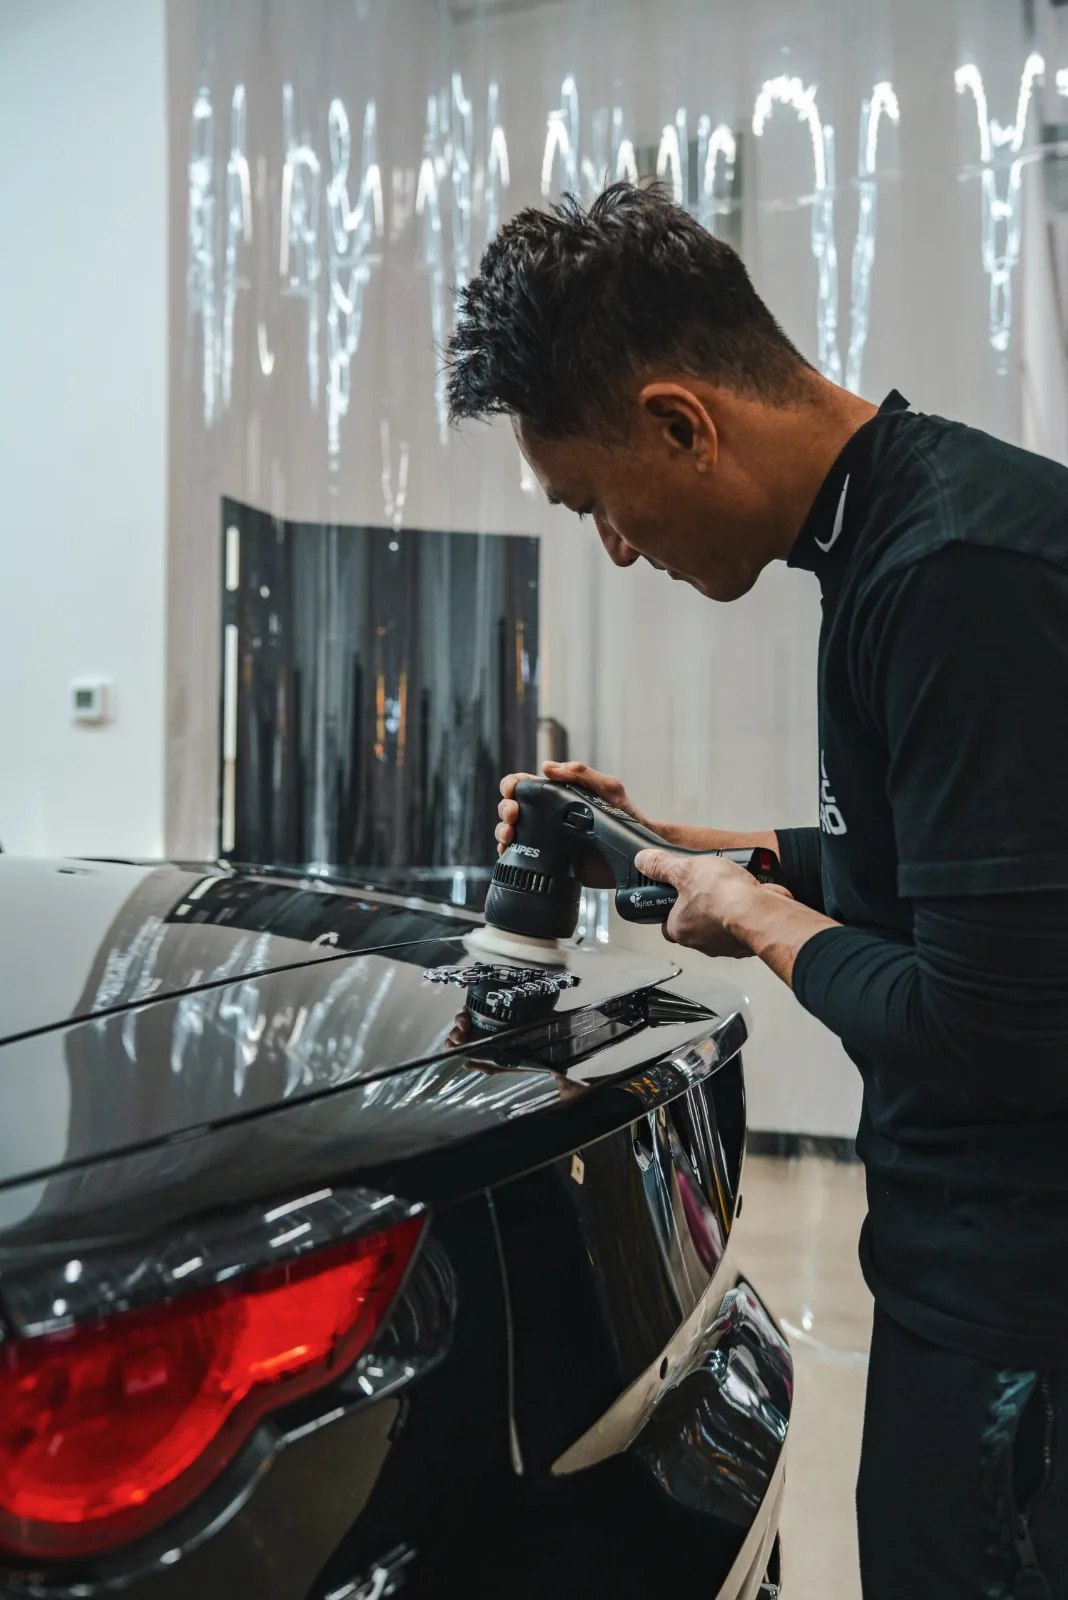
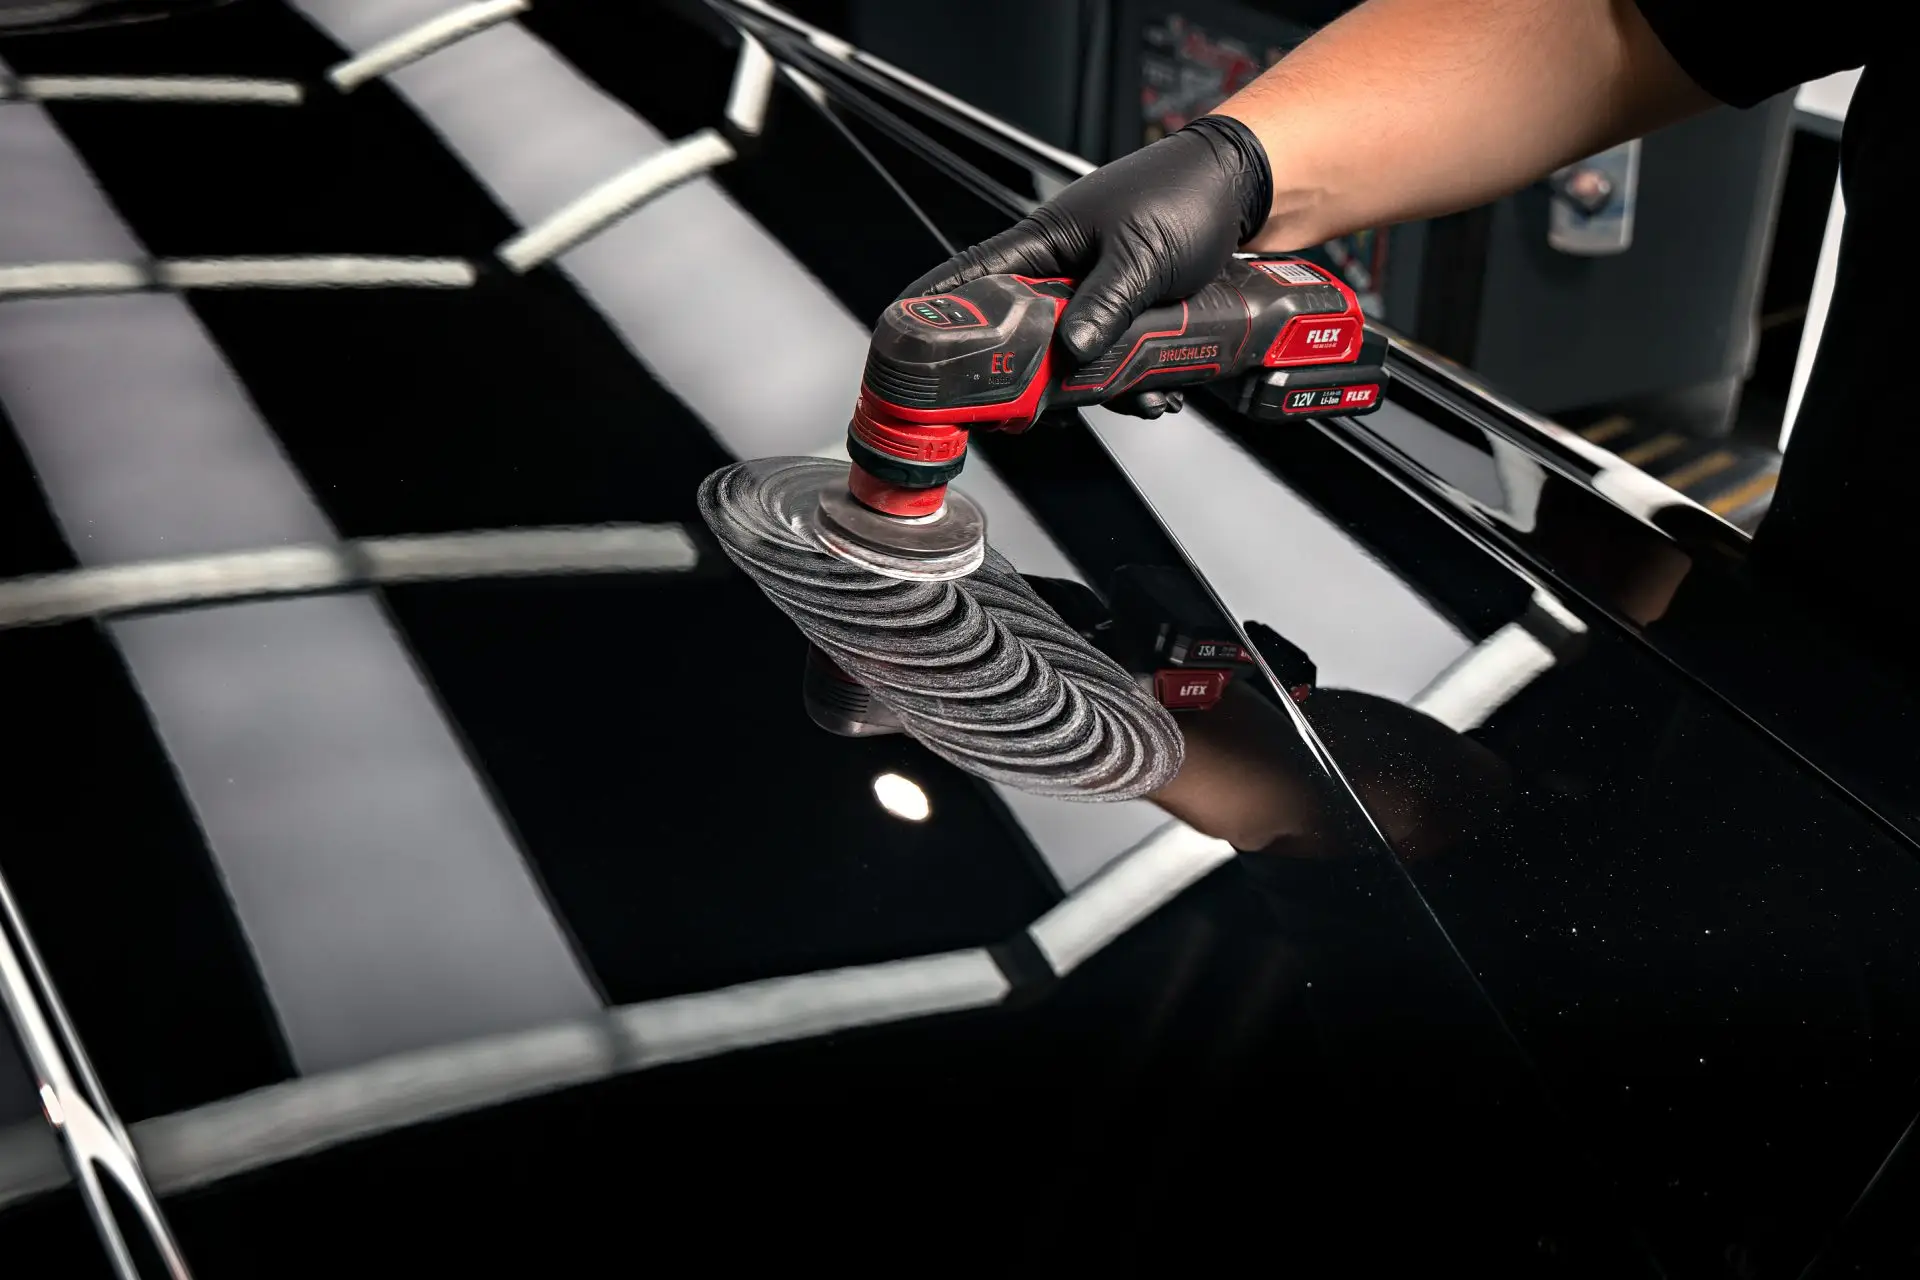
Detailer using a dual-action polisher on black paint
Step 1Light cut, one pass
1Step 1 · Light cut

One pad, one polish, gloss back.

  • ToolDual-action polisher, foam polishing pad, a medium-fine polish.
  • HowSmall sections, slow overlapping passes, light pressure, wiped and checked under the light.
  • FixesHaze, light wash marring, the dullness that makes a newer car look tired.
  • RemovesAbout 1–2 µm of clear. Typically 50–60% of visible defects.
Clear coat used
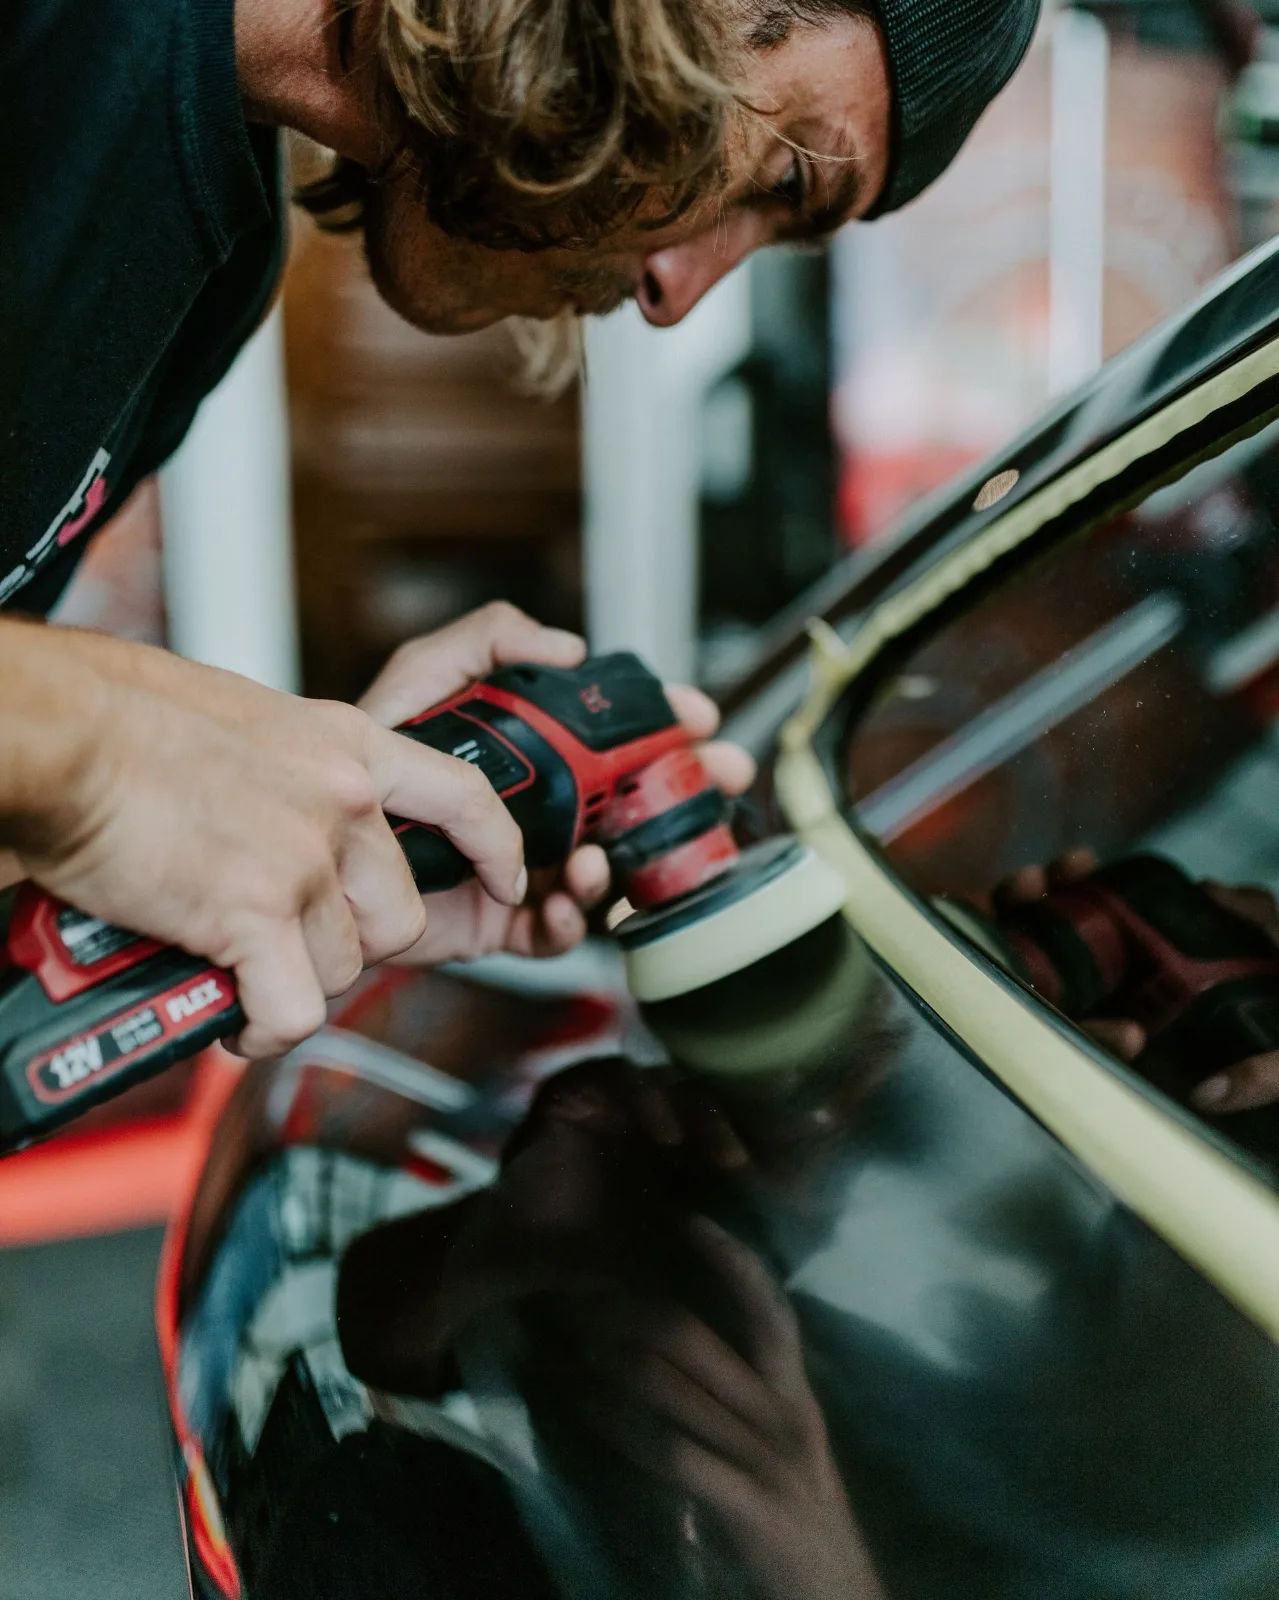
Detailer machine polishing black paint beside taped trim
Step 2Cut, then refine
2Step 2 · Abrasive cut

Compound first, then a finishing polish.

  • CutCutting compound on a microfiber or wool pad levels the swirls and light scratches.
  • RefineThe cut leaves its own haze. A finishing polish on a soft foam pad takes it out and brings the depth back.
  • FixesCar wash swirls, light scratches, trail pinstriping, shallow water spot etching.
  • RemovesAbout 3–5 µm. Typically 80–85% of visible defects.
Clear coat used
Masking tape along the windshield edge of a black Rolls-Royce Phantom during correction
Step 3Edges taped, gauge first
3Step 3 · Wet sanding

Sand it flat, then polish it back.

  • GaugeOnly on panels that read thick enough, and never on edges, creases or body lines.
  • SandFine wet paper, usually 2,000 to 3,000 grit, on a soft block or interface pad with plenty of lubricant. It flattens the panel down to the bottom of the scratch.
  • RecoverCompound removes the sanding marks, a finishing polish brings the clarity back. Multi-day, in the shop.
  • FixesDeep clear-coat scratches, light key marks, orange peel, runs and dust in the clear, deep etching.
  • Removes5–10+ µm where it’s used. 95%+ of what is in the clear.
Clear coat used
1-step vs 2-step vs 3-step paint correction
Step 1 · Light cutStep 2 · Abrasive cutStep 3 · Wet sanding
What it isOne polish, one padCompound, then finishing polishWet sand, compound, polish
Best forHaze, dull paint, light wash marksCar wash swirls, light scratches, trail pinstripingDeep scratches in the clear, orange peel, deep etching
Defects removed50–60%80–85%95%+
Clear coat removed~1–2 µm~3–5 µm~5–10+ µm
Paint gaugeRecommendedRecommendedRequired
After The Polisher

Wipe it, check it, protect it.

Polish oils make paint look better than it is. These three steps tell the truth and keep the result.

Black BMW hood with sharp light reflections after paint correction

Panel wipe

An IPA-based panel wipe strips the oils. If swirls come back after it, the polish was hiding them, and the panel goes back under the machine.

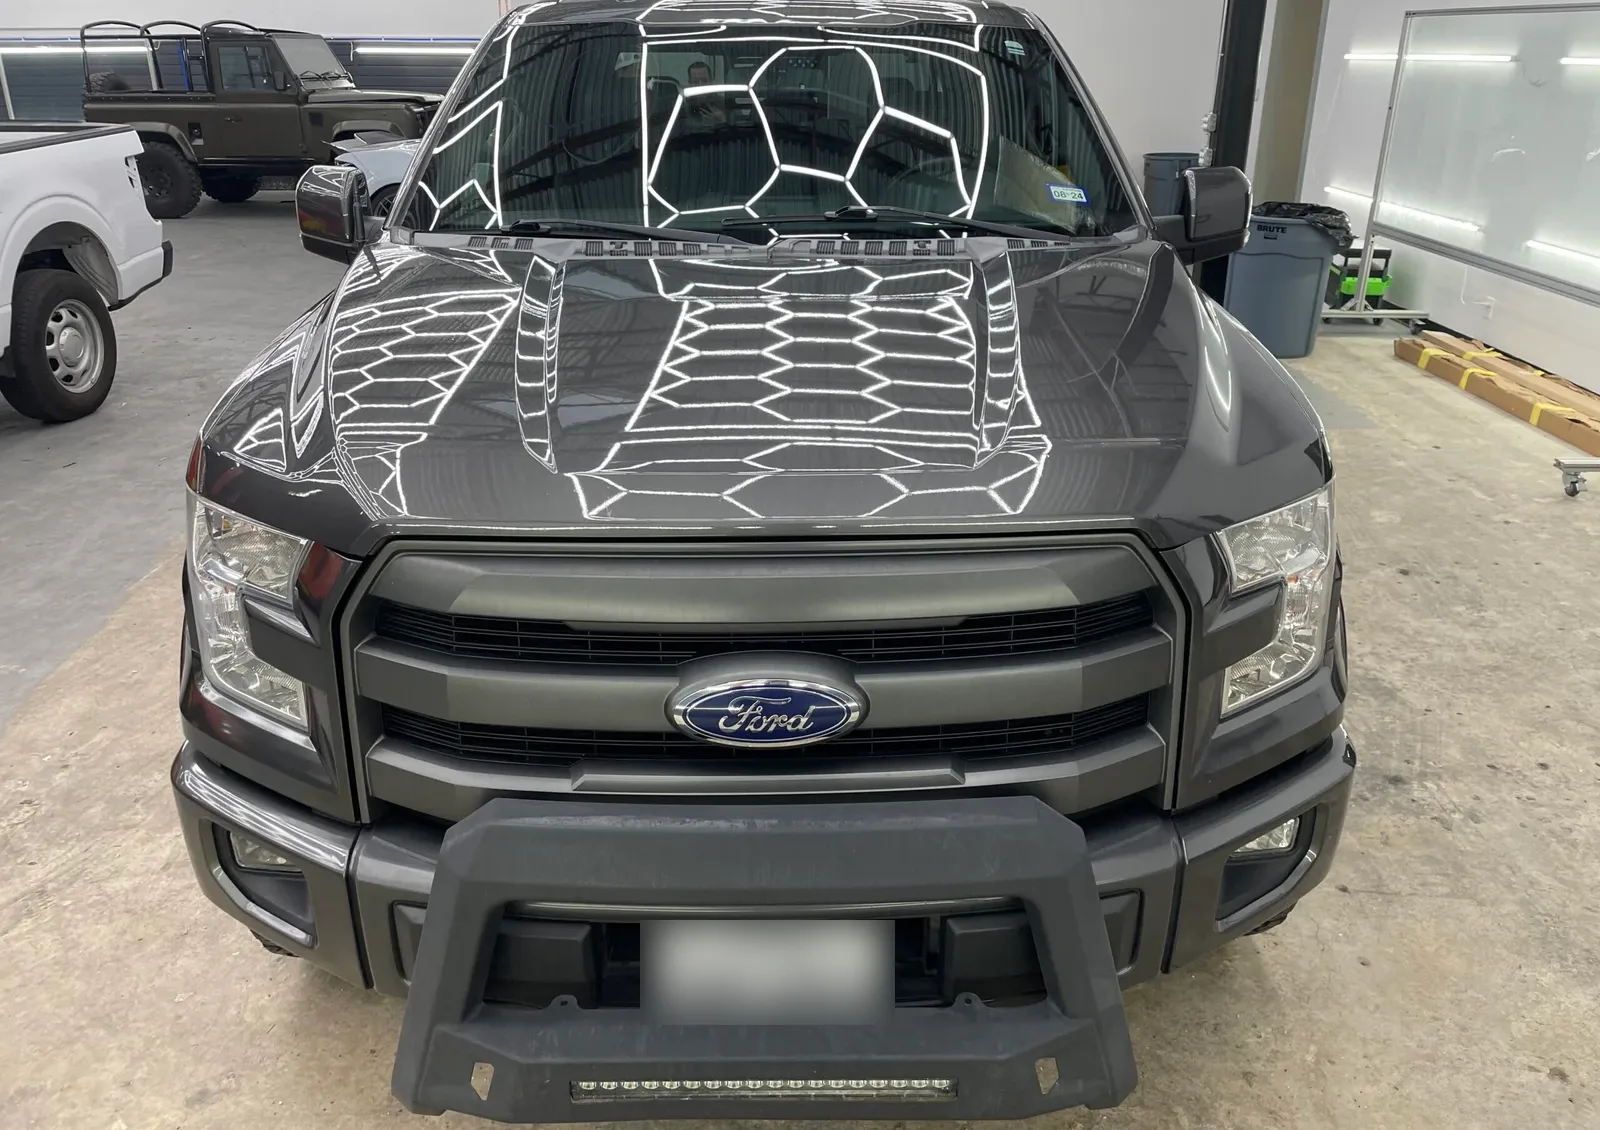
Gray Ford F-150 hood reflecting hexagon shop lights after paint correction

Inspect under every light

Overhead, handheld and a single hard light from the side. The one that shows the most is the one that counts.

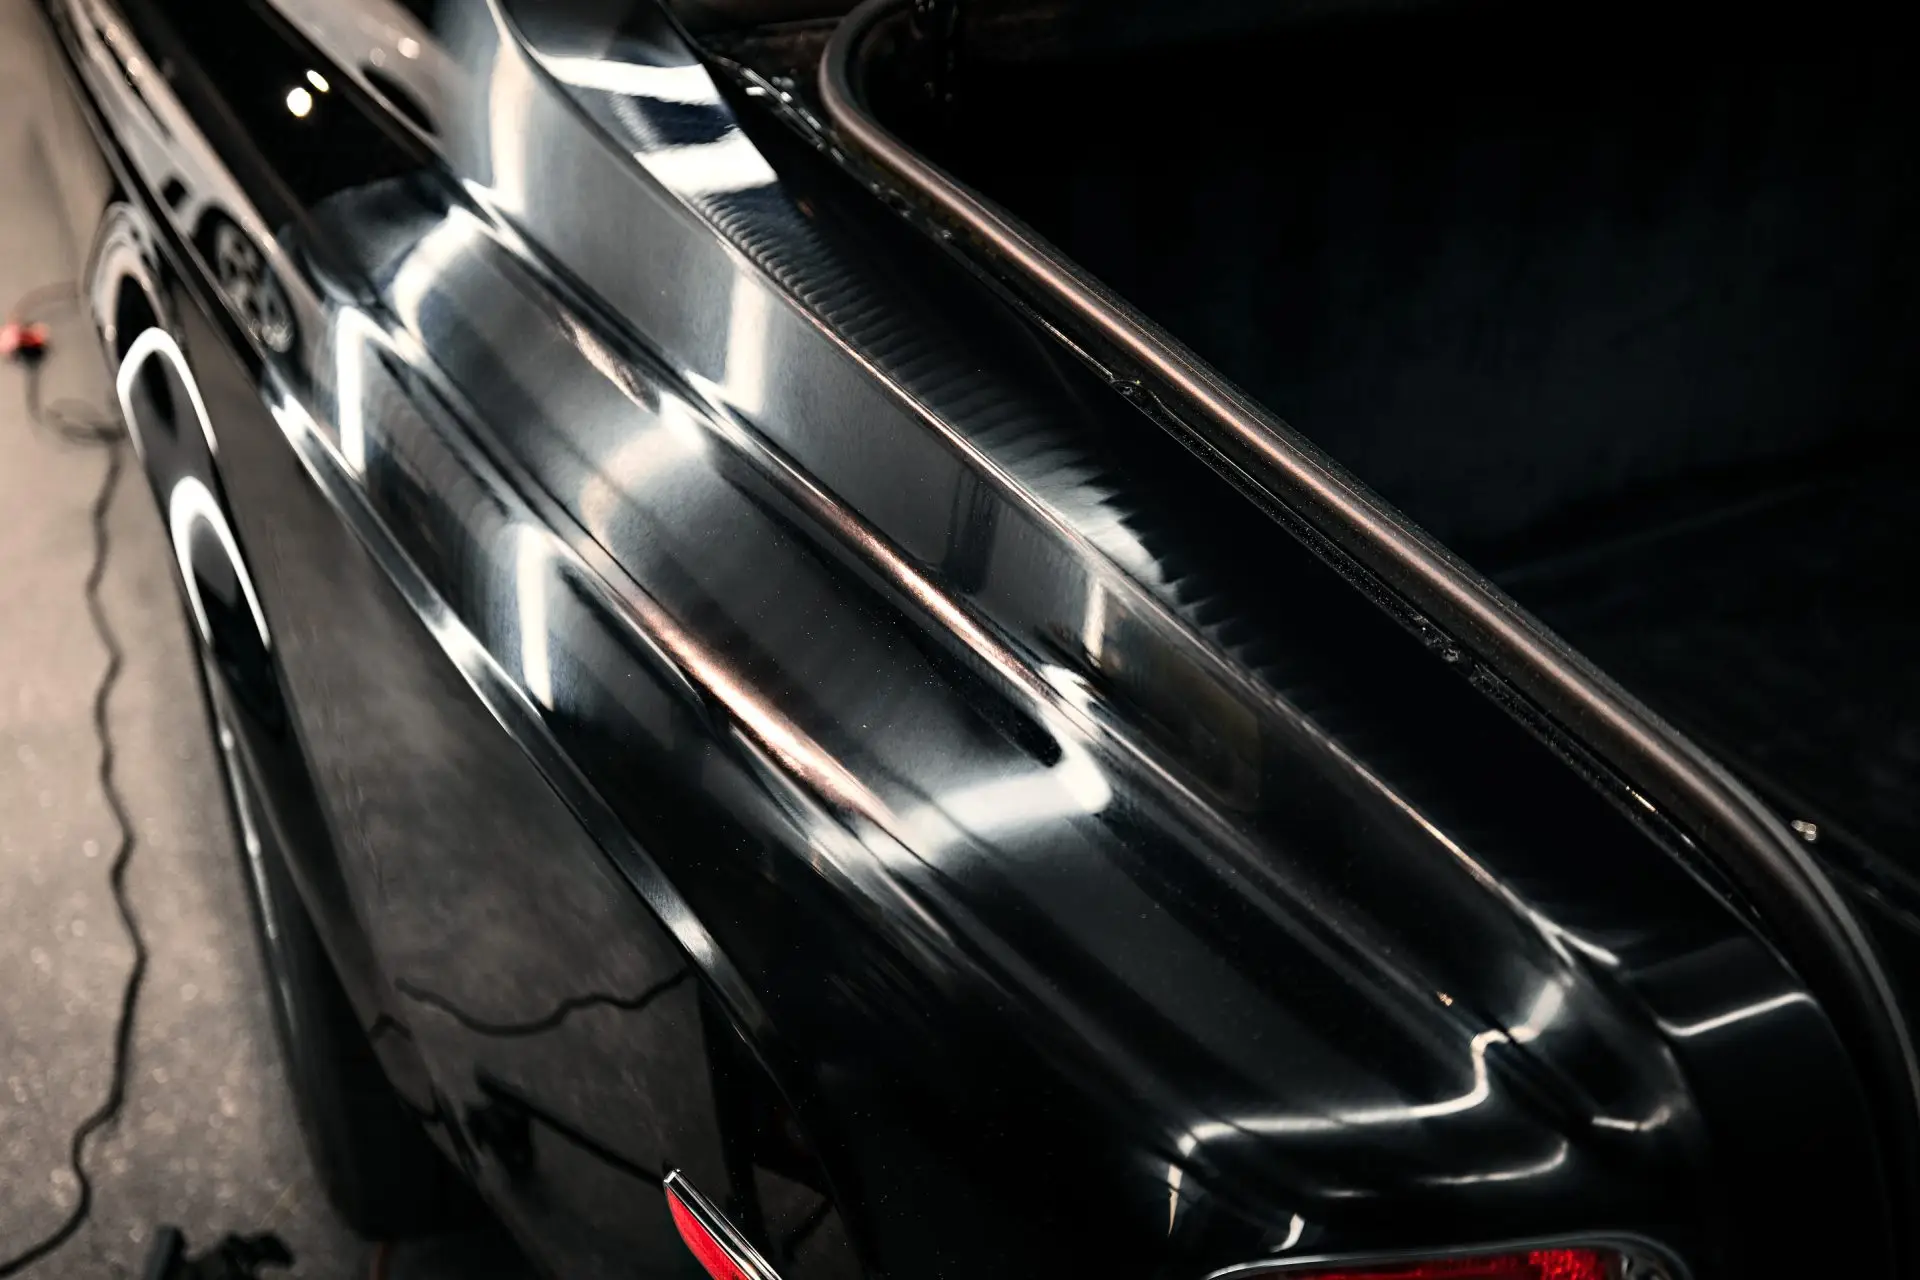
Reflections on the black rear quarter panel of a Rolls-Royce Phantom

Protect it

Corrected paint is bare paint. A Gtechniq coating or 3M film keeps it that way. Washing properly afterwards matters just as much.

Doing It Yourself

Want to try it? Good. Do it right.

We would rather you learn it properly than buy a bottle that promises everything. The rules we hold ourselves to:

Least aggressive firstStart with polish on a foam pad. Step up only if the test spot says so.
A DA, not a rotaryA dual-action polisher is far more forgiving. Rotaries burn through edges fast.
Clean pads constantlyA loaded pad cuts unevenly and puts its own marks back in.
Shade, cool panelsPolish dries out and grabs on hot paint. Work in a garage, not the driveway at noon.
Never sand without a gaugeYou can’t see how much clear is left. Once it’s gone, it’s a repaint.
Stay off edgesBody lines and panel edges have the least paint. Tape them and stay away.

Paint correction · Inspection before polishing

Why choose ST6 for paint correction in Phoenix & the East Valley?

ST6 Detailers · Family operated · Arizona service

ST6 brings 20,000+ hours of polishing experience to vehicles in Phoenix, Chandler, Gilbert, Tempe and Scottsdale. Paint inspection, contamination removal and a test section guide the correction approach. We choose the work for the finish and defect depth rather than promising every scratch can be removed.

ST6 Detailers logo × Gtechniq

Carfax Gtechniq Accredited installer badge

20,000+ polishing hours

Our polishing experience is applied to assessing swirls, haze, oxidation and other paint defects. Inspection and a test section help determine the correction level appropriate for the vehicle.

Preparation before cutting

Washing and decontamination come before machine polishing. Mineral deposits and bonded contamination are assessed first so a mark is not treated as a reason for unnecessary aggressive compounding.

Correction matched to paint

Light enhancement and multi-stage correction are different services. Paint condition and the selected scope determine the work; deep damage may remain where further removal would be inappropriate.

Family-operated in Arizona

Dana Starr, his sons and a long-time crew serve Phoenix, Chandler, Gilbert, Tempe and Scottsdale. Ask us about your vehicle or vessel, its condition and the specific service you need.

Arizona service questions

Car Paint Correction Guide. Phoenix & East Valley questions.

Service details, protection options and booking answers for Phoenix, Chandler, Gilbert, Tempe and Scottsdale.

What is paint correction?

Paint correction is machine polishing that removes swirl marks, scratches, haze and etching by leveling a microscopic layer of the clear coat down to the bottom of the defect. The damage is removed, not filled with a glaze or wax that washes away.

What is the difference between 1-step, 2-step and 3-step paint correction?

A 1-step is a light cut: one polish on one pad for haze and light wash marks. A 2-step is an abrasive cut with a compound, then a finishing polish to remove the haze the compound leaves. A 3-step adds wet sanding before the compound and polish, for scratches and texture that a polisher alone cannot level.

Can car wash scratches be removed?

Yes, in most cases. Automatic car wash brushes leave fine circular scratches in the top of the clear coat, which is exactly what correction removes. Most car wash damage comes out with a 2-step.

Can paint correction fix a keyed car?

Only if the key mark is still in the clear coat. Run a fingernail across it: if it does not catch, correction will remove it; if it catches slightly, wet sanding may level it after a paint gauge reading; if it catches hard or shows white, grey or metal, it needs touch-up or paint.

Why does my car look dull, and can it be fixed?

Dull paint is usually fine marring from washing plus UV and environmental fallout scattering the light. In Phoenix, sun exposure, hard water and environmental contamination all add to it. A 1-step or 2-step correction brings the gloss back in most cases.

Does paint correction remove clear coat? Is it safe?

It removes a very small amount: roughly 1 to 2 microns for a light cut, 3 to 5 for a 2-step and 5 to 10 or more where wet sanding is used, out of a clear coat typically 35 to 50 microns thick. Measuring with a paint thickness gauge and choosing the least aggressive step that works keeps it safe.

What is wet sanding and when is it needed?

Wet sanding uses very fine sandpaper, usually 2,000 to 3,000 grit, with lubricant to flatten the clear coat down to the bottom of a deep scratch, orange peel, a run or dust in the clear. It is always followed by compounding and polishing, and is only done on panels with enough clear coat measured.

How long does paint correction last?

The correction itself is permanent: removed scratches do not come back. New ones come from washing, so results last as long as the car is washed properly. A ceramic coating or paint protection film keeps corrected paint looking that way for years.

Can I do paint correction myself?

Yes, with a dual-action polisher, clean pads and patience. Start with the least aggressive polish on a test spot, work in the shade on cool panels, tape the edges and never wet sand without a paint thickness gauge.

Request a Quote

Tell us about the vehicle. We’ll route it to the right team.

Include the vehicle, the city it’s in and what you want done. The nearest location replies with the right service and an open time.

Request detailsST6 Arizona